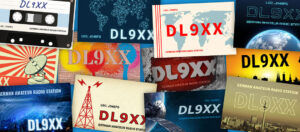
If you want to design your QSL cards yourself with GIMP it can quickly become overwhelming. In this guide you will find the main steps, simply explained.
Design QSL cards yourself with GIMP
Preparation
GIMP, just like Photoshop, is a pixel-based graphics program. Unlike Photoshop, however, this is free and can be downloaded here: www.gimp.org
After the download, a simple installation typical for the respective system (Windows / macOS) takes place.
A QSL card template for GIMP can be downloaded from the following link. This is already created in the correct format and the most important elements.
Step 1: Create document
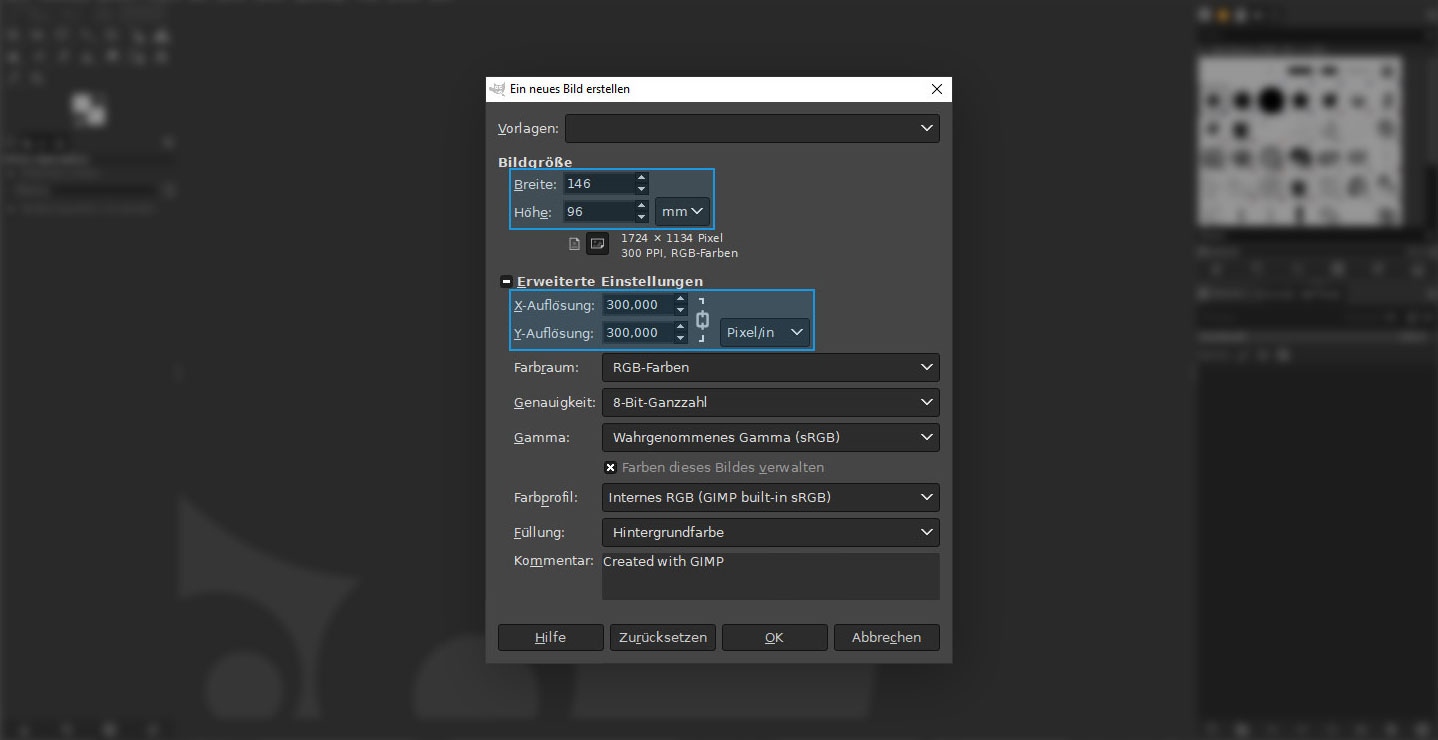
Under “File > New” (Ctrl + N) we first create a new document with the following settings:
- Width 146 mm *
- Height 96 mm *
- As unit we choose millimeter
- The resolution should be 300 pixels / in
* Dimensions include 3 mm bleed per side. This varies depending on the printer and is cut away during production to prevent white “flash”. Please keep this in mind when creating the motif and keep enough distance to the edge accordingly, with important image elements and texts.
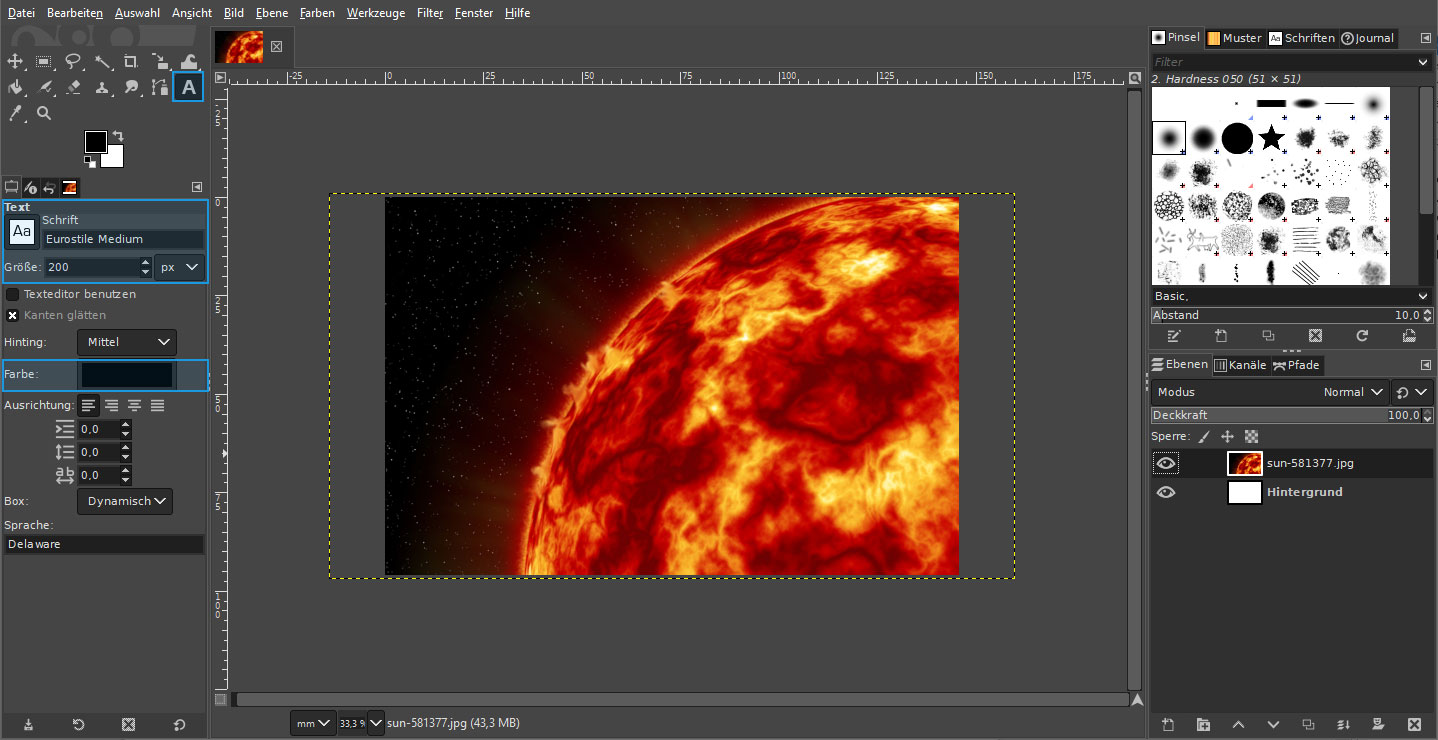
Step 2: Insert background image
Next, we’ll choose a suitable image.
Using drag & drop (with the left mouse button pressed) we now simply drag the file into the workspace in GIMP. To make the image fill the entire workspace, we now select “Tools > Transformation > Scale” (Shift + S). With the help of the appeared corner points we can scale the element with the left mouse button pressed.

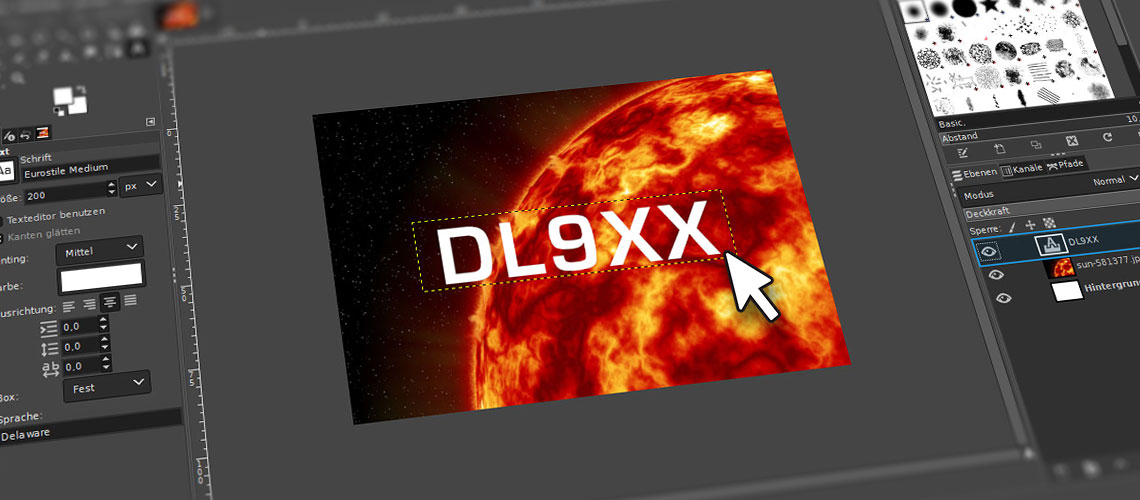
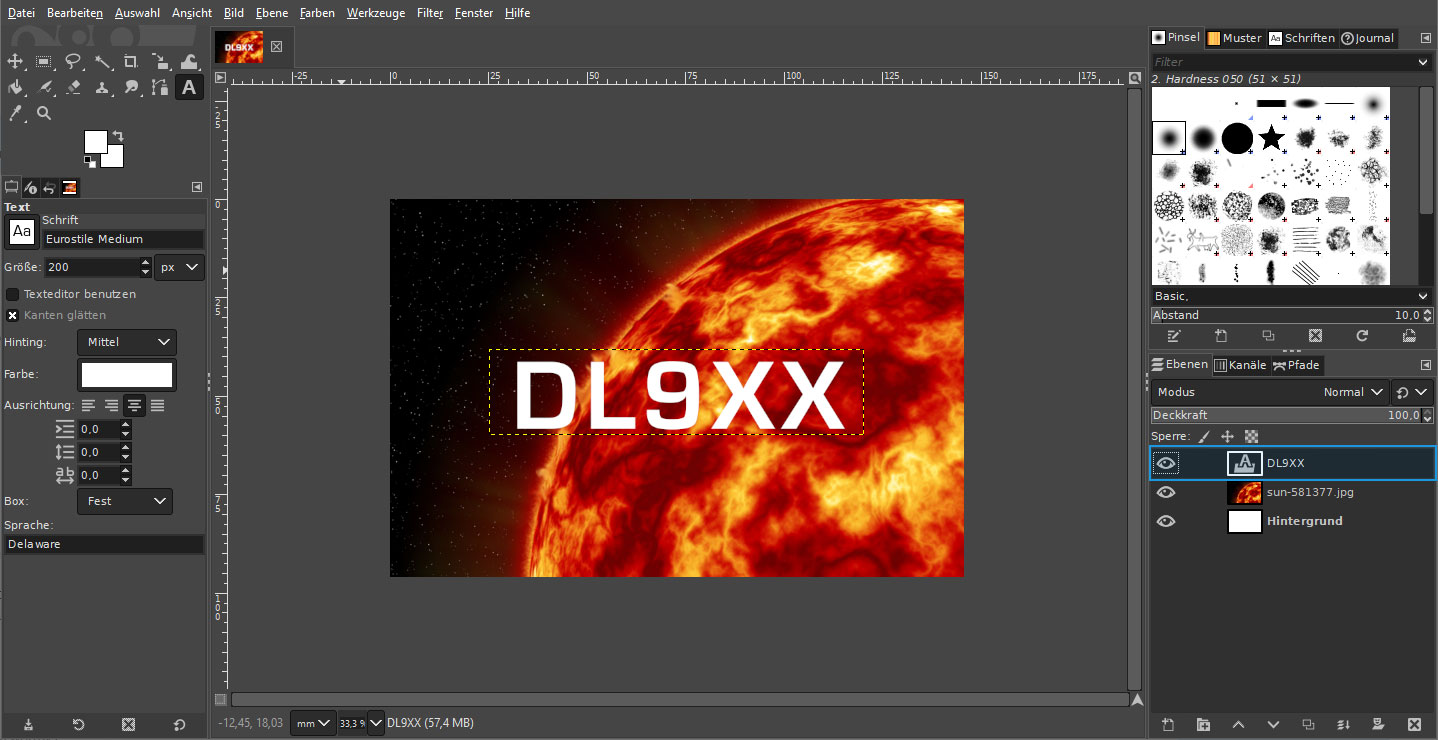
Step 3: Add call sign / text
To add a text we select the text tool by left-clicking on the corresponding icon (or “T” key on the keyboard). After that we can still adjust the font, font size and text color.
Then we click on the workspace and type in our text, or the call sign.
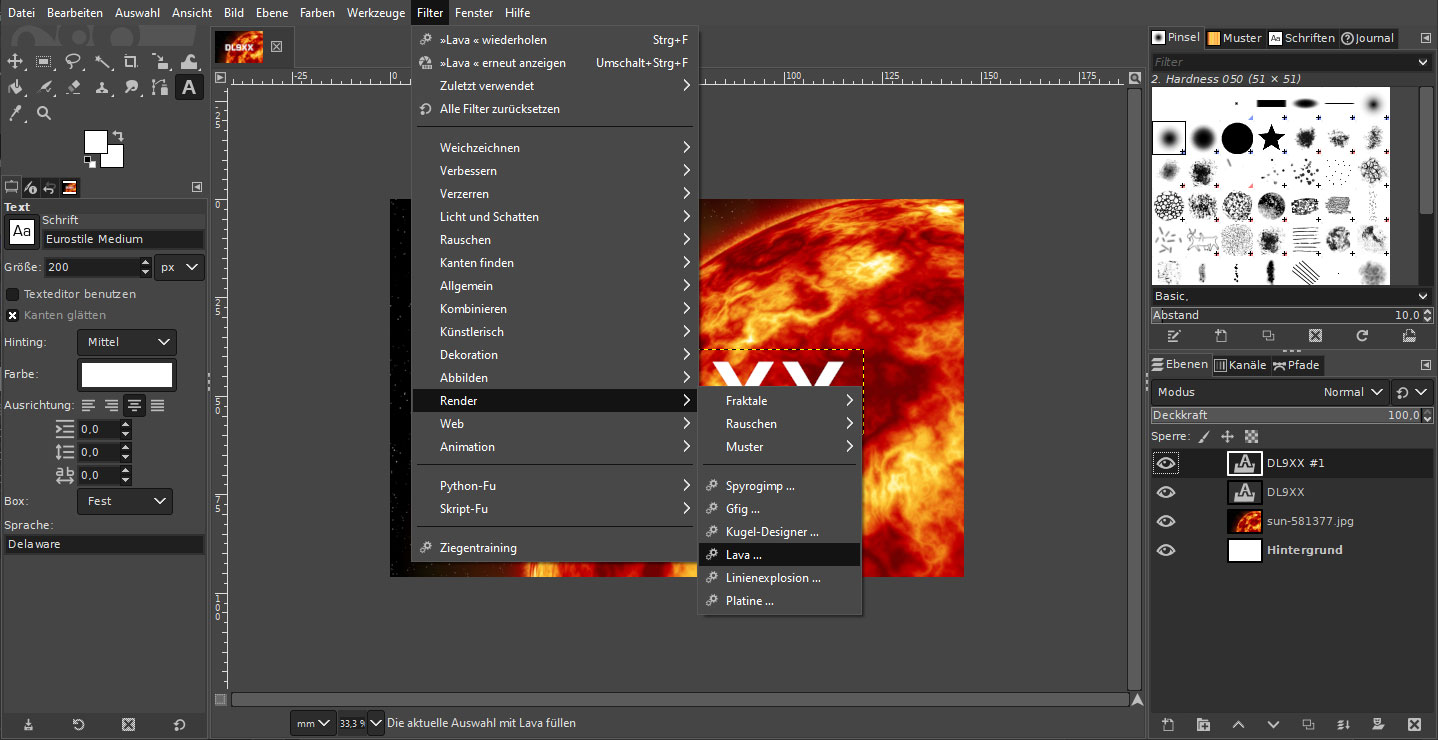
Step 4: Add effects
First, we duplicate our text layer. To do this, we right-click on the layer and choose “Duplicate Layer”.
Using the top bar, we now select “Filter > Render > Lava”. Here you can be creative and experiment, combine filters etc.
For example, we still applied the “Light and Shadow > Lens Reflex” filter to the background image and processed the text with the “Waves” distortion filter.

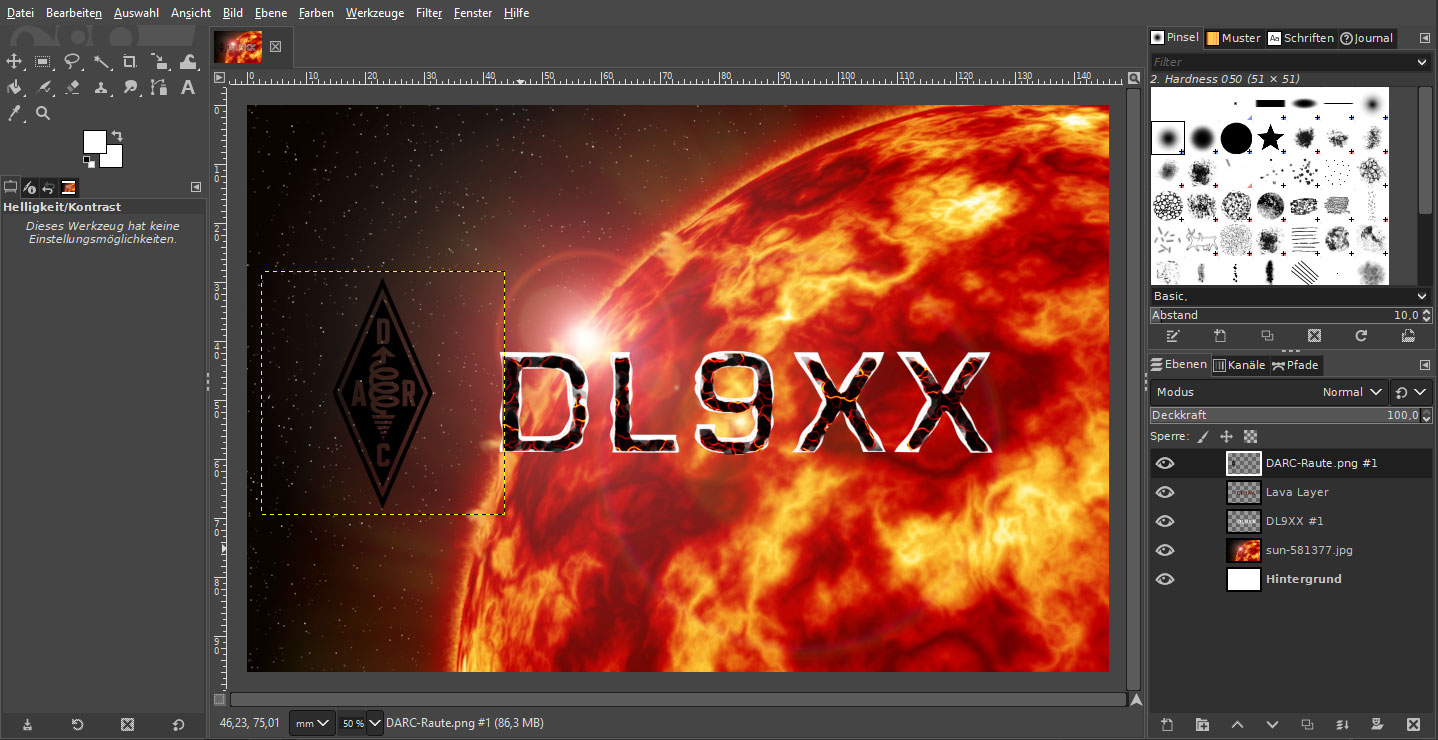
Step 5: Insert DARC Logo
As before, we simply drag the file onto the workspace with the mouse button pressed.
To change the positioning we select the “Move” tool (“M” key) and move the element with the left mouse button pressed and scale it to the desired size (Shift + S).
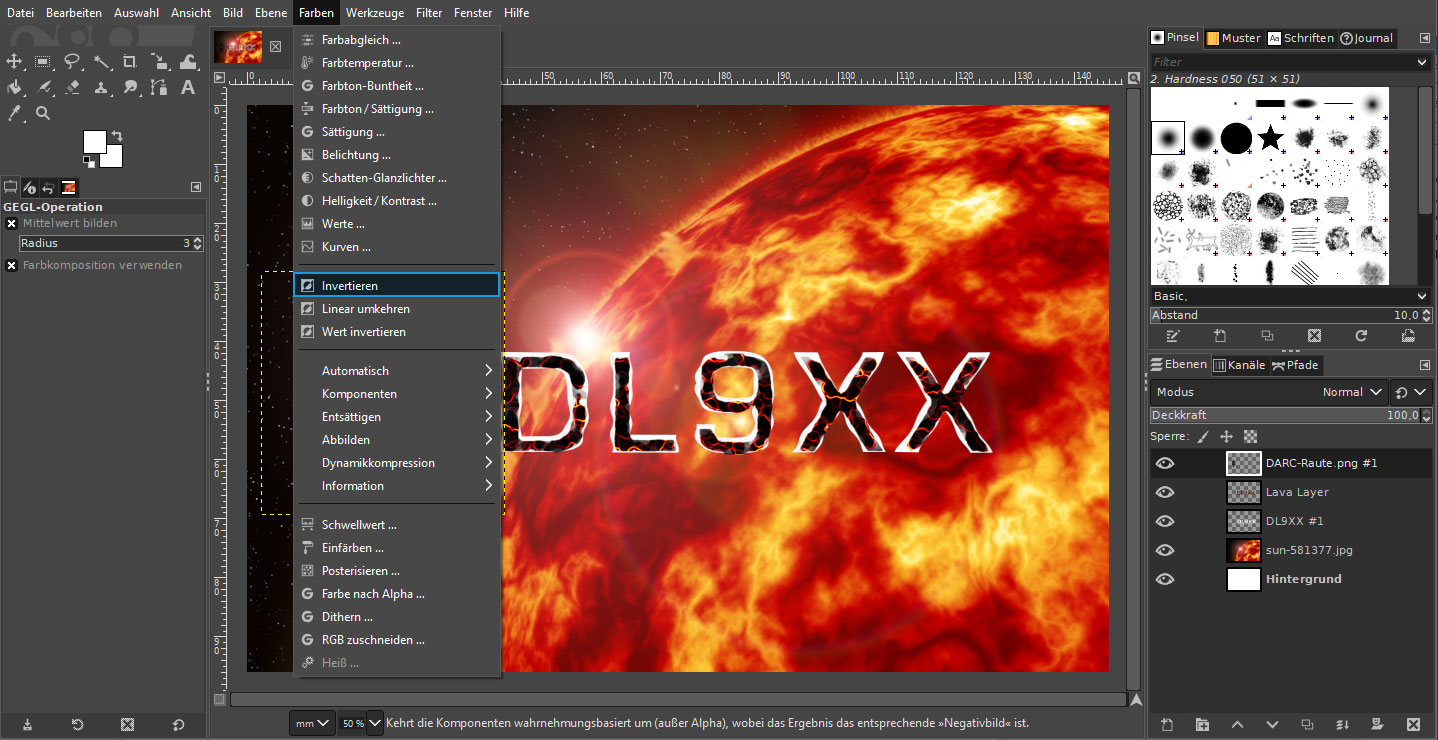
Via “Colors > Invert” we can now color the logo white. In the Colors section you will also find a lot of other options for color customization.
Step 6: Save
Finally, you can save your template under “File > Save as” (Shift + Ctrl + S). You can reopen this file at any time to make subsequent changes to your design.
To print your QSL cards you have to export them as .jpg or .png file under “File > Export to” (Shift + Ctrl + E). You can then easily email us the final design when you place your order.
QSL cards design with GIMP too complicated?
In our store you will find an intuitive editor for designing QSL cards. You can either choose one of our templates or create your design from scratch.